
Want to know how to contour your face in just 5 minutes? This quick and easy guide will show you how to achieve flawless definition without spending hours in front of the mirror.

I know how overwhelming contouring can seem—between bronzers, highlighters, and endless tutorials, it’s easy to feel like it takes too much time.
But with the right technique and a few must-have products, you can sculpt your cheekbones, slim your nose, and define your jawline in minutes.
This post is all about how to contour your face in 5 minutes.

Understanding Contouring
Contouring 🎨 is the art of sculpting and defining your face. By using shades slightly darker than your skin tone, you can create natural-looking shadows and accentuate your best features.
Choosing the Right Products
- 🛍️ Creams: Perfect for a natural finish and easy blending.
- 🛍️ Powders: Great for setting makeup and adding a more defined look.
💡 Pro Tip
If you’re a beginner, start with a cream-based contour stick or palette. They’re effortless to apply and blend seamlessly into your base makeup..

Finding Your Contour Zones
Knowing where to apply contour is crucial for a flattering result.
- Focus Areas: Jawline, cheekbones, and nose are the key spots to define your face.
- Pro Tip: Use natural light to identify the shadows on your face for guidance 🌞.
Prepping Your Skin
Healthy skin is the canvas for flawless makeup, so skincare is key 💆 .
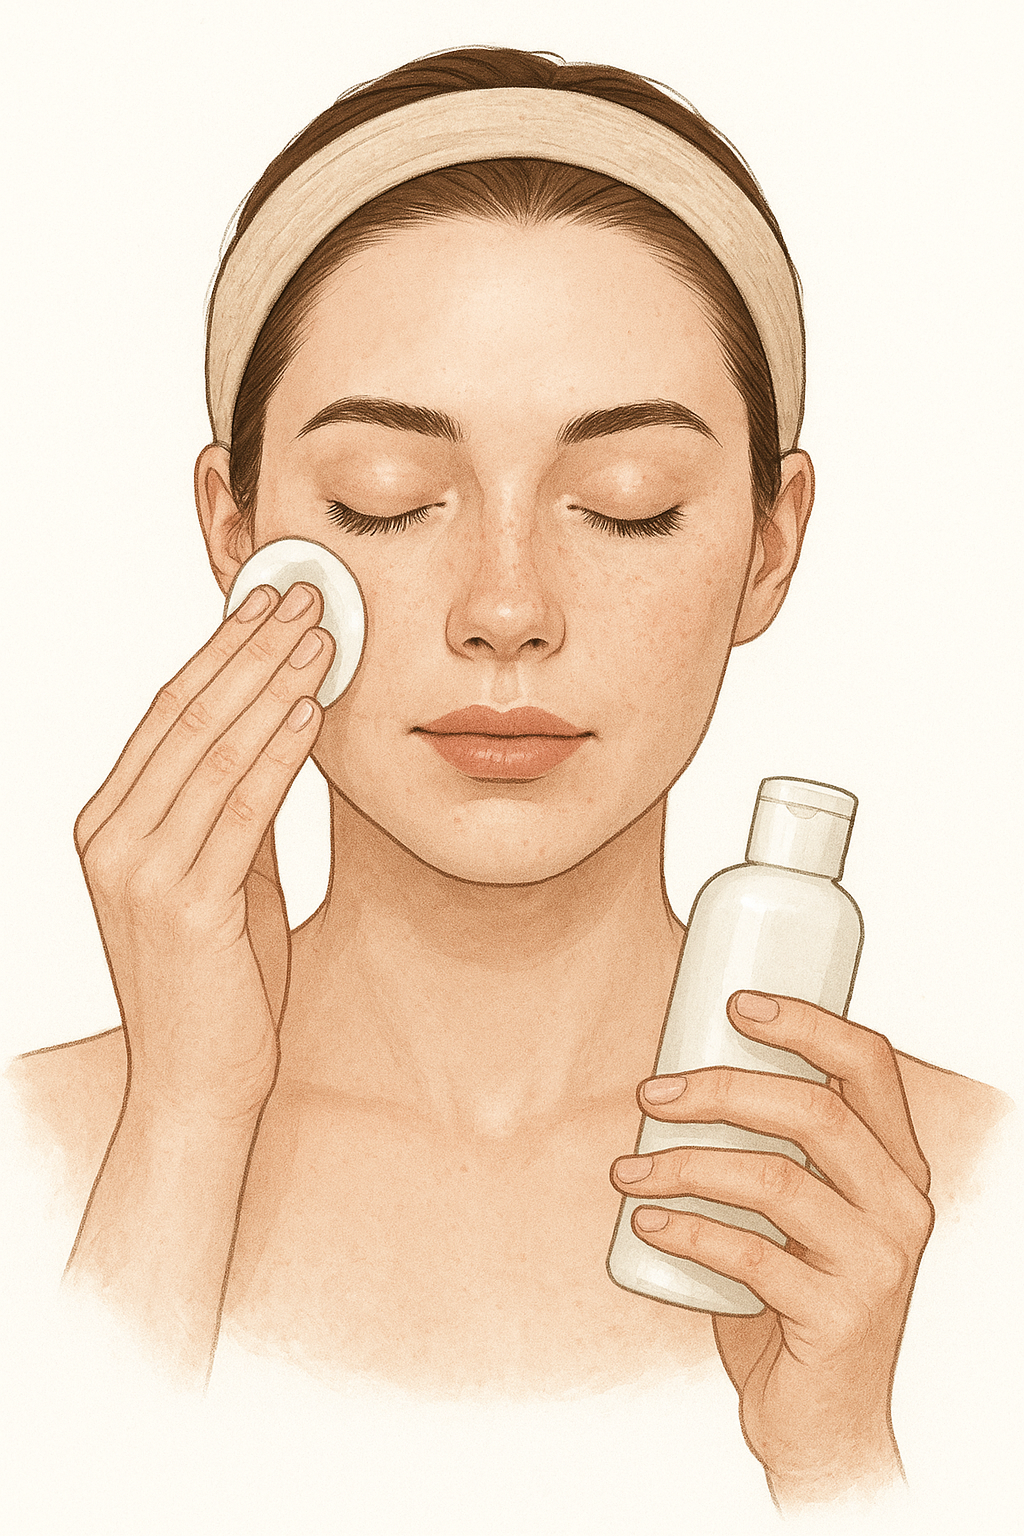
- Routine: Cleanse, exfoliate, and moisturize for a smooth base.
- Example: Double cleanse at night and moisturize daily for hydrated, glowing skin ✨.
Cream vs. Powder Contour 🌸
Your choice depends on skill level and the finish you want.
- Cream Contour: Easier for beginners, blends seamlessly, and gives a natural look.
- Powder Contour: Ideal for setting makeup and creating sharper definition.
- Try This: A cream contour stick for precise, beginner-friendly application 🎯.
Step-by-Step Contouring Guide
Here’s how to contour different areas of your face 🪞:
✨ Cheekbones
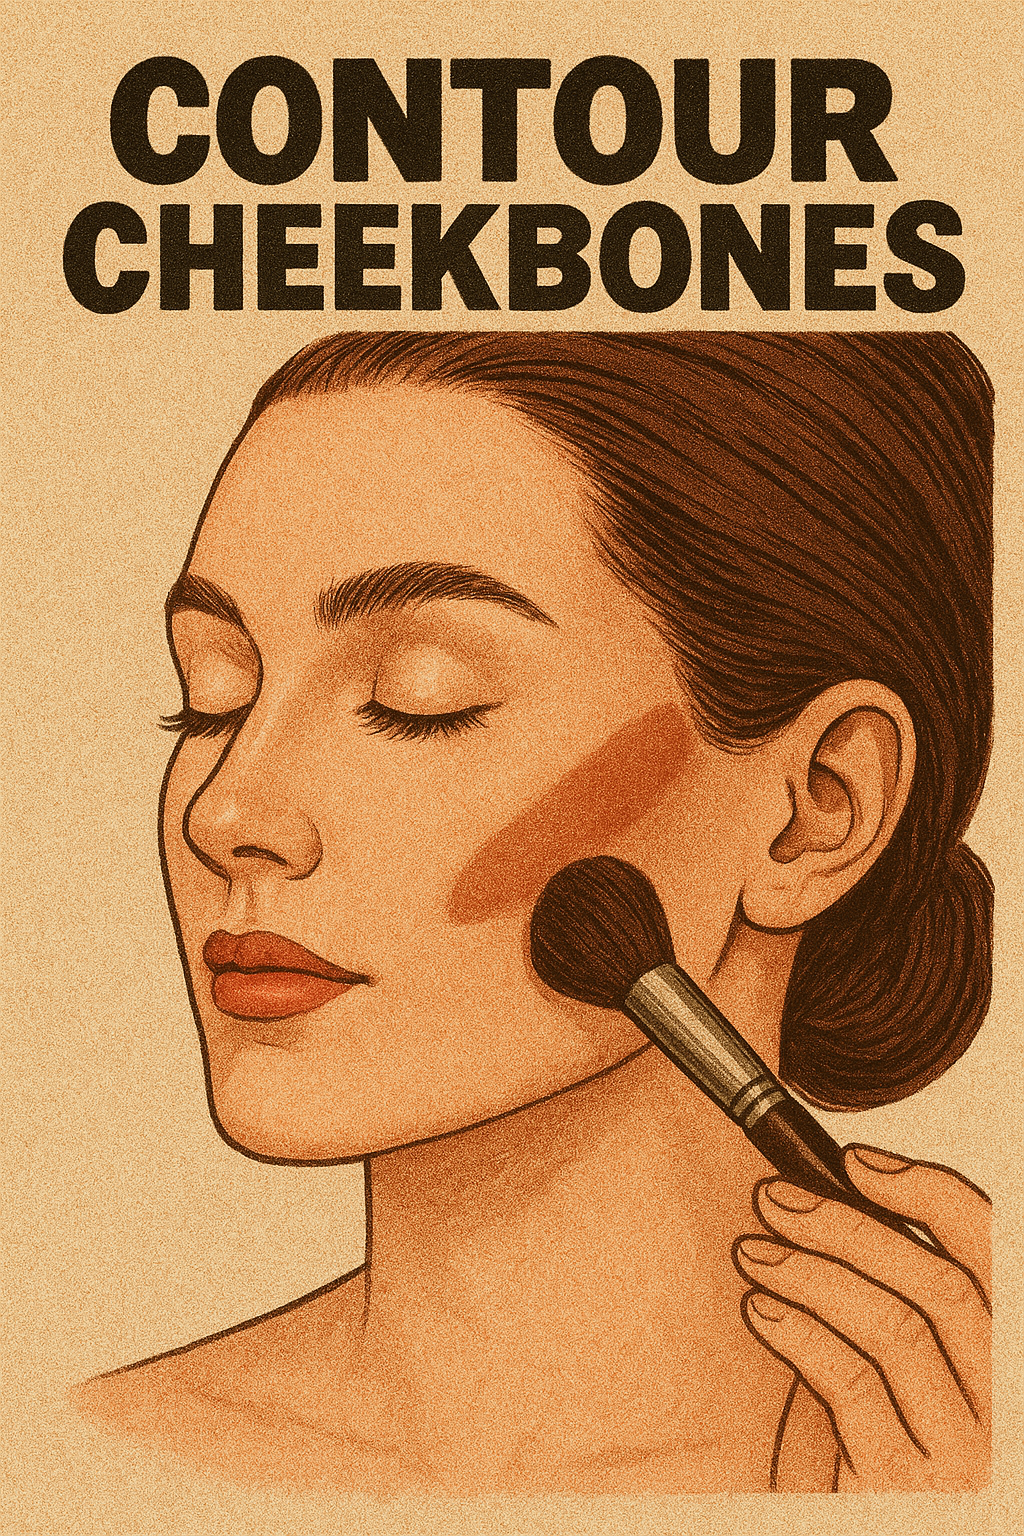
- Visualize a line from your ear to the corner of your mouth.
- Apply contour along this line and blend toward your hairline.
- Use a brush or fingers to blend until seamless.
✨ Forehead
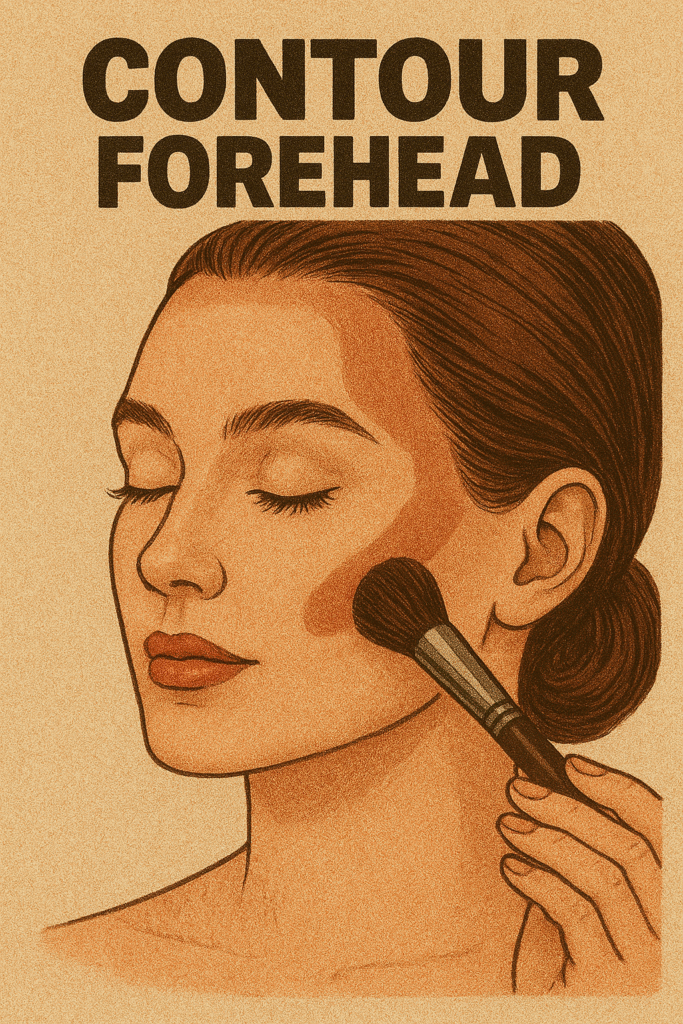
- Dot contour along your hairline from temple to temple.
- Blend in semicircular motions for a natural gradient.
- Focus on the sides for a narrower effect.
✨ Jawline
- Buff contour along your jawline to create subtle shadows.
- Blend well for a sculpted but natural finish.
✨ Eye Area
- Imagine a line from the outer corner of your nose to above your brow bone.
- Apply contour along this line and blend upward 👀.
- Extend slightly for a lifted effect.
🌟 Completing the Look
- Highlighter: Apply to high points like cheekbones, brow bone, and nose bridge.
- Blush: Sweep onto cheeks for a healthy, radiant glow 🌹.
🌿 Contouring at Any Age
Contouring isn’t limited by age — just adapt your technique as your features evolve.
- Tip: Use contour to gently lift and define as skin changes over time.
- Example: Softer application can enhance features while respecting skin’s natural texture 💕.
💄 Contouring is a versatile technique that enhances your natural beauty. With a little practice and the right products, you’ll master the art of sculpting in no time!

